
Introduction
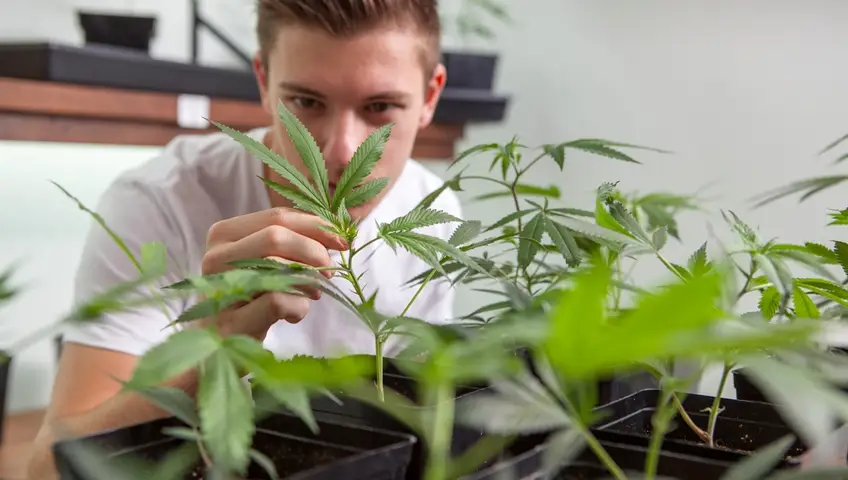
Growing cannabis at home can be a rewarding and empowering experience. Whether you’re looking for a personal supply, want to ensure purity and quality, or simply enjoy gardening, home cultivation gives you full control over your cannabis. With proper guidance, anyone can successfully grow healthy, resin-rich buds—even in small spaces.
This step-by-step guide is designed to walk beginners through the essentials of home growing, from choosing the right seeds to harvesting your first crop. Before you begin, always check your local laws to ensure home cultivation is legal in your region.
Growing Cannabis at Home
Step 1: Understand the Basics of Cannabis Growth
Cannabis is a photoperiod plant, meaning it grows in stages and responds to changes in light. There are four main growth phases:
- Germination (3–10 days): The seed cracks open and a sprout appears.
- Seedling Stage (2–3 weeks): The young plant develops its first true leaves.
- Vegetative Stage (3–8 weeks or longer): The plant grows rapidly in size and foliage.
- Flowering Stage (6–12 weeks): The plant produces buds rich in cannabinoids like THC or CBD.
Each stage requires specific care and environmental conditions, which we’ll explore in the steps below.
Step 2: Choose the Right Seeds
Your grow starts with quality cannabis seeds. There are three main types:
1. Regular Seeds
These can produce either male or female plants. Since only female plants produce usable buds, growers using regular seeds must identify and remove males early to avoid pollination.
2. Feminized Seeds
Genetically engineered to produce only female plants, feminized seeds are ideal for beginners who want to skip the guesswork.
3. Autoflowering Seeds
These transition from the vegetative to flowering stage automatically, regardless of light cycles. They grow fast, are low maintenance, and are great for small grow spaces or beginners.
Tip: Choose a strain that fits your goals—whether it’s for pain relief, relaxation, focus, or recreational enjoyment. Consider aroma, THC/CBD levels, and plant size.
Step 3: Decide Between Indoor vs. Outdoor Growing
Your space, budget, and climate will influence your growing environment.
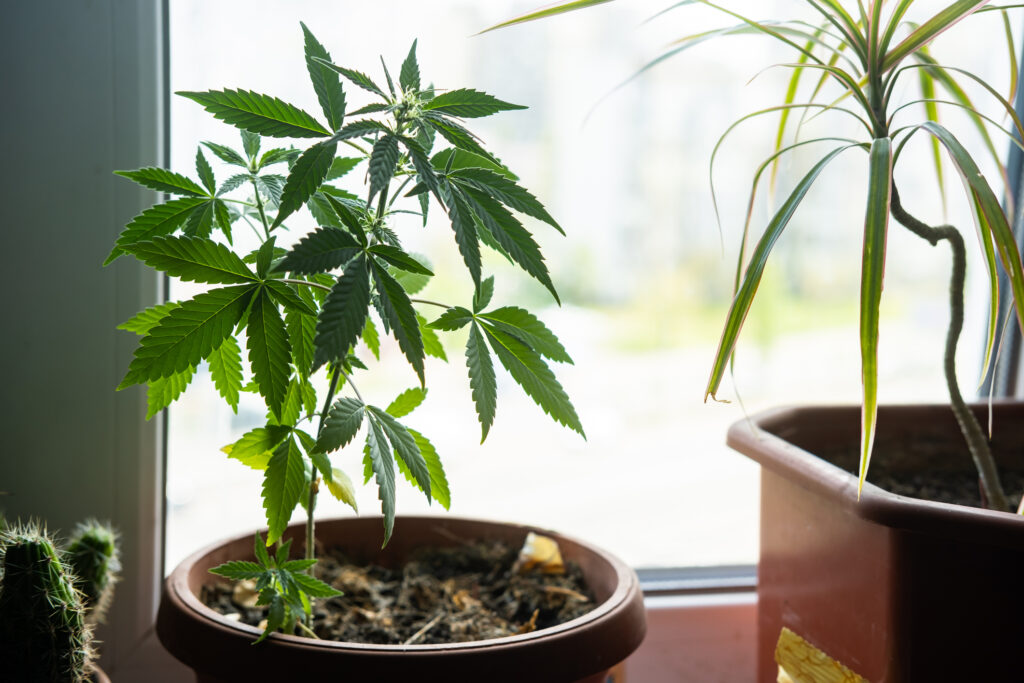
1. Indoor Growing
- Pros: Total control over lighting, temperature, humidity, and pests. Year-round cultivation.
- Cons: Higher setup costs (grow lights, ventilation, etc.), requires electricity.
2. Outdoor Growing
- Pros: Natural sunlight, low cost, less equipment needed.
- Cons: Limited to suitable seasons, weather-dependent, more visible to neighbors or thieves.
For those in urban areas or with harsh climates, indoor growing is usually more reliable. However, outdoor growing is a great option if you have the space and right conditions.
Step 4: Set Up Your Growing Environment
1. Indoor Grow Setup Essentials:
- Grow Tent or Closet: Contains and reflects light.
- Grow Lights: LED, CFL, or HID. LEDs are efficient and cooler.
- Ventilation System: Inline fan, carbon filter, and exhaust for air circulation and odor control.
- Thermometer & Hygrometer: To monitor temperature (65–80°F) and humidity (40–60%).
2. Outdoor Grow Setup:
- Sunny Spot: Cannabis needs at least 6 hours of direct sunlight per day.
- Well-Draining Soil: Enriched with compost or organic nutrients.
- Protection: Fencing or cages to protect from animals and pests.
Step 5: Choose a Growing Medium
You can grow cannabis in soil or soilless media like coco coir or hydroponics.
1. Soil
- Easiest for beginners.
- Use organic potting soil with added perlite for drainage.
- Avoid “hot” soils with too much nitrogen.
2. Hydroponics or Coco Coir
- Faster growth and higher yields.
- Requires more monitoring of pH and nutrients.
- Better suited for experienced growers.
Step 6: Germinate Your Seeds
The simplest method is the paper towel method:
- Place seeds between damp (not soaked) paper towels.
- Keep them warm and dark (70–80°F).
- Within 3–7 days, the seeds will sprout a taproot.
Once sprouted, carefully transfer the seed to its growing medium taproot down, about ½ inch deep.
Step 7: Care for Your Plants Through Each Stage
1. Seedling Stage (2–3 weeks)
- Use gentle light (18–24 hours/day for photoperiod plants).
- Keep humidity high (60–70%) and temperature around 70–75°F.
- Avoid overwatering—seedlings are fragile!
2. Vegetative Stage (3–8 weeks)
- Increase light intensity and maintain 18 hours of light daily.
- Feed with nitrogen-rich nutrients.
- Train plants using Low-Stress Training (LST) or topping to promote bushier growth.
- Ensure airflow and space between plants to prevent mold.
3. Flowering Stage (6–12 weeks)
- Switch light cycle to 12 hours of light and 12 hours of darkness for photoperiod strains.
- Use bloom-stage nutrients with higher phosphorus and potassium.
- Watch for pistils and trichomes forming on buds.
- Monitor for pests like spider mites or bud rot.
Step 8: Harvest at the Right Time
Knowing when to harvest is crucial for potency and flavor. Signs that your cannabis is ready:
- Pistils: Most white hairs have darkened and curled in.
- Trichomes: Use a magnifying glass. When most are milky-white with some amber, it’s time to harvest.
Cut branches at the base, remove fan leaves, and hang upside down in a cool, dark, ventilated room for 5–10 days.
Step 9: Cure for Quality
After drying, trim the buds and place them in glass jars (mason jars work well) with lids.
- Store in a cool, dark place.
- Open the jars daily (burping) for 10–15 minutes to release moisture.
- Cure for at least 2–4 weeks, but longer curing (up to 2 months) improves flavor and potency.
Step 10: Enjoy Responsibly
Once cured, your buds are ready for use. Whether you smoke, vape, cook, or make oils, growing your own cannabis ensures:
- Purity (no pesticides or additives)
- Control over strain and potency
- Cost savings over time
- Satisfaction of self-sufficiency
Just remember to store your cannabis in airtight containers, away from light and moisture to maintain freshness.
Legal and Safety Considerations
Before you start, check your local cannabis laws. Some regions allow personal cultivation, others limit plant counts, and some prohibit it entirely.
Also, ensure:
- Plants are securely grown away from public view
- You label and track your plants if required by law
- You do not sell your product without proper licensing
Also Read: Cannabis Pest Management: Protecting Your Crop from Seed to Harvest
Conclusion
Growing cannabis at home is more than a hobby—it’s a hands-on way to connect with the plant, understand its life cycle, and produce clean, high-quality buds tailored to your preferences. With patience, care, and the right knowledge, even a first-time grower can achieve a rewarding harvest.
Whether you’re aiming for recreational use or exploring cannabis for medical purposes, this guide offers a reliable starting point on your cultivation journey. So gather your seeds, set up your space, and get ready to grow!