Introduction
Growing cannabis is as much an art as it is a science. Each stage — from the tiny seed you plant in the soil to the mature, aromatic buds ready for harvest — represents a vital phase in the plant’s life. Understanding these stages helps you not only grow healthier, more potent cannabis but also appreciate the remarkable transformation this plant undergoes.
Whether you’re an aspiring home grower or simply curious about how your favorite strain makes its way from seed to smoke, this guide walks you through the complete life cycle of a cannabis plant — from seed to harvest — in an easy, insightful way.
Complete life cycle of a cannabis plant

1. The Seed Stage: The Beginning of Life
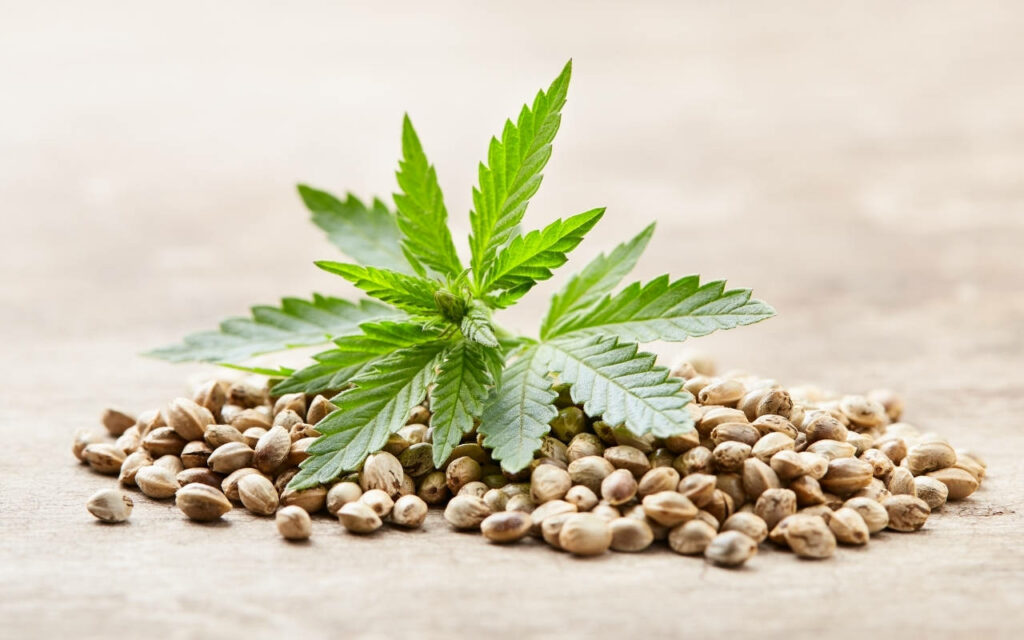
Everything begins with a seed — small, unassuming, yet full of genetic potential. A healthy cannabis seed is firm, dry, and usually brown with slight tiger-like stripes. Soft, green, or white seeds are often immature and unlikely to germinate successfully.
At this stage, the seed is dormant. Inside, it holds the plant’s DNA blueprint — determining whether it will be an indica, sativa, or hybrid strain, its cannabinoid profile, and even its potential yield.
Germination: Awakening the Seed
The first real step in the cannabis life cycle is germination, where the seed “wakes up” and begins to sprout. Under the right conditions — warmth, moisture, and darkness — the seed cracks open, revealing a white taproot.
There are several methods growers use to germinate seeds:
- Paper towel method: Place seeds between damp paper towels inside a dark, warm place until they sprout.
- Direct planting: Sow the seed directly into soil or a starter cube.
- Water soak method: Soak the seeds in lukewarm water for 12–24 hours to encourage cracking.
Once the taproot appears (usually within 2–5 days), it’s time to transfer your seed into soil or another growing medium, where it can begin its next phase — the seedling stage.
2. The Seedling Stage: Delicate Beginnings (2–3 Weeks)
The seedling stage is one of the most critical and delicate periods in a cannabis plant’s life. During this phase, the plant begins to form its first leaves and develop a small root system.
Healthy seedlings should have vibrant green leaves and a sturdy stem. The first leaves (cotyledons) provide early nutrition, followed by the iconic serrated leaves that define cannabis.
Optimal Conditions
- Light: 18–24 hours of light daily using fluorescent or LED grow lights.
- Temperature: 20–25°C (68–77°F).
- Humidity: Around 65–70%.
- Water: Light watering — seedlings are sensitive to overwatering.
At this point, your cannabis plant is like a newborn — fragile and hungry for the right balance of light, warmth, and moisture. Too much or too little of any element can stunt its growth.
This stage typically lasts 2–3 weeks, setting the foundation for healthy vegetation later.
3. The Vegetative Stage: Rapid Growth and Strength (3–8 Weeks)
Once your cannabis plant has established roots and several sets of leaves, it enters the vegetative stage — a period of vigorous growth. The plant focuses all its energy on building strong stems, thick foliage, and a resilient root network.
This stage determines your plant’s ultimate size, structure, and potential yield.
Key Characteristics
- The plant grows taller and bushier.
- Leaves grow larger and more numerous.
- Branches begin forming at rapid speed.
- The plant develops a strong root system to support future flowering.
Optimal Conditions
- Light: 18 hours on / 6 hours off (known as the “18/6” light cycle).
- Temperature: 22–28°C (72–82°F).
- Humidity: 50–60%.
- Nutrients: High nitrogen levels to support leaf and stem growth.
Many growers choose to train their plants during this phase using methods like topping (cutting the main stem to encourage branching) or low-stress training (LST) to improve light exposure and maximize future yield.
This phase usually lasts 4–8 weeks, depending on your goals and whether you’re growing indoors or outdoors. The longer the vegetative stage, the larger the plant will grow — which can translate to more buds later.
4. The Pre-Flowering Stage: Signs of What’s to Come (1–2 Weeks)
Before your plant fully transitions into flowering, it goes through a pre-flowering phase, where you can start identifying its sex.
This is crucial if you’re growing from regular seeds — since male plants produce pollen sacs that can fertilize females, leading to seed production instead of high-quality buds.
Spotting the Difference
- Female plants: Develop small white hairs (pistils) at the nodes — these will eventually become flowers (buds).
- Male plants: Grow small, round pollen sacs that hang downward.
If your goal is to harvest potent, seedless buds (called sinsemilla), you’ll want to remove male plants immediately to prevent pollination.
5. The Flowering Stage: Bud Formation and Maturity (6–10 Weeks)
The flowering stage is where the real magic happens — your cannabis plant begins to produce the resinous buds rich in cannabinoids and terpenes.
What Triggers Flowering
For photoperiod strains, flowering starts when the light cycle changes to 12 hours of light and 12 hours of darkness. For auto-flowering strains, the plant begins flowering automatically after a set number of weeks, regardless of light schedule.
Phases of Flowering
- Early flowering (Weeks 1–3):
The plant stretches and doubles in size while forming the first pistils. - Mid-flowering (Weeks 4–6):
Buds become denser, trichomes (tiny resin glands) start appearing, and aroma intensifies. - Late flowering (Weeks 7–10):
Buds fatten up and pistils darken; trichomes turn from clear to milky or amber, signaling peak potency.
Optimal Conditions
- Light: 12/12 light cycle.
- Temperature: 20–26°C (68–78°F).
- Humidity: Gradually reduce from 50% to 40% to prevent mold.
- Nutrients: Switch to lower nitrogen and higher phosphorus/potassium to promote bud growth.
During this period, patience and precision are key. Avoid overfeeding, and monitor trichomes closely to determine the best harvest time.
6. The Harvest Stage: Reaping the Rewards
After weeks of care and anticipation, it’s finally time to harvest your cannabis. Timing is everything — harvesting too early can result in lower potency, while waiting too long may degrade THC content.
How to Know When It’s Ready
- Trichome color:
- Clear = Not ready.
- Milky white = Peak THC levels.
- Amber = More sedative, body-heavy effects.
- Pistil color:
- When 70–90% of the pistils have darkened and curled inward, the plant is typically ready.
Once you’ve identified the perfect window, carefully cut the branches and trim away excess leaves. Handle buds gently to preserve the delicate trichomes that hold cannabinoids and terpenes.
7. Drying and Curing: The Final Touch (2–4 Weeks)
Drying and curing are often overlooked but are just as important as growing. These steps determine the flavor, smoothness, and potency of your final product.
Drying
Hang trimmed branches upside down in a dark, ventilated room at:
- Temperature: 18–21°C (65–70°F).
- Humidity: Around 50%.
Drying usually takes 7–10 days. You’ll know it’s done when small stems snap instead of bend.
Curing
After drying, place your buds in airtight glass jars, opening them daily for 10–15 minutes to release moisture. This “burping” process prevents mold and enhances aroma.
Curing can take 2–4 weeks, and longer curing often results in smoother, more flavorful smoke.
8. Optional Stage: Cloning and Re-Growth
If you’ve found a particularly successful cannabis plant — one with great yield, potency, or aroma — you can clone it before harvesting. Cloning involves cutting a small branch (a “clone”) and re-rooting it to create a genetically identical plant.
This allows growers to preserve their favorite genetics and skip the seed stage entirely in future grows.
9. A Note on Auto-Flowering Strains
Auto-flowering cannabis strains have simplified the process for many beginners. Unlike photoperiod plants, they automatically transition from seed to harvest in about 10–12 weeks, regardless of light cycles.
They’re smaller, faster-growing, and ideal for discreet or indoor setups. However, their yield is usually lower compared to traditional photoperiod plants.
10. Understanding the Plant’s Purpose at Each Stage
Every stage of cannabis growth serves a purpose:
- Seed & Germination: Establish genetic identity and root life.
- Seedling: Develop strength and resilience.
- Vegetative: Build structure and energy reserves.
- Flowering: Focus energy into bud and resin production.
- Harvest & Curing: Lock in potency, flavor, and quality.
Understanding these natural rhythms helps you make better decisions at each step — adjusting light, nutrients, and environment to match what your plant truly needs.
Also Read: Medical Cannabis: Potential Benefits and Considerations
Final Thoughts
Watching a cannabis plant grow from a tiny seed into a lush, fragrant harvest is deeply rewarding. Each stage demands patience, observation, and care — but the payoff is not just in the final buds. It’s in the connection you form with the plant and the sense of accomplishment that comes with nurturing life from start to finish.
The more you understand the cannabis life cycle, the more control you gain over your grow. And whether you’re cultivating for wellness, creativity, or pure curiosity, remember: the secret to great cannabis isn’t just in genetics — it’s in the grower’s hands, heart, and dedication.

